


Tesla's factory repair methods prioritize flawless panel fitment and alignment using specialized equipment. Technicians employ laser-guided accuracy for invisible repairs, preserving structural integrity and aesthetic precision. These meticulous techniques, including computer-aided alignment systems, ensure vehicles return to their original state, showcasing Tesla's integration of advanced technology and craftsmanship in auto body repair.
Tesla vehicles are renowned for their cutting-edge technology and sleek design, but even these iconic cars can benefit from factory repairs. This article delves into the precise world of Tesla factory repair methods, specifically focusing on OEM panel fitment and alignment. We’ll explore the stringent standards set by Tesla, the essential tools required, and provide a comprehensive step-by-step guide to ensure panels are replaced perfectly, maintaining the vehicle’s original integrity.
- Understanding Tesla Factory Repair Standards
- Tools and Equipment for Precision Alignment
- Step-by-Step Guide to OEM Panel Replacement
Understanding Tesla Factory Repair Standards

Tesla’s factory repair methods are renowned for their precision and adherence to strict standards. When it comes to OEM panel fitment and alignment, Tesla prioritises flawless results that match the vehicle’s original build quality. This involves meticulous techniques and specialised equipment to ensure every component is replaced or repaired to exacting specifications. Car repair shops and auto body repair experts must be well-versed in these methods to deliver comparable outcomes.
The process encompasses not just structural integrity but also aesthetic precision, requiring skilled technicians to work with laser-guided accuracy. Tesla’s factory repair standards demand that all repairs and alignments are invisible to the naked eye, preserving the vehicle’s sleek design and overall value. This level of detail ensures that vehicles return to their original state, showcasing Tesla’s commitment to excellence in both technology and craftsmanship within the auto body repair process.
Tools and Equipment for Precision Alignment
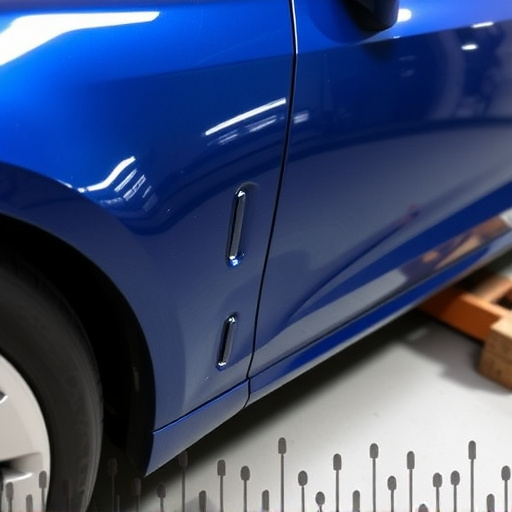
In the realm of Tesla factory repair methods, achieving precise panel fitment and alignment is paramount to maintaining the vehicle’s original aesthetics. This necessitates an arsenal of specialized tools and equipment designed for intricate precision work. For instance, frame straightening machines play a pivotal role in addressing structural distortions, ensuring panels align perfectly with the vehicle’s frame. Additionally, advanced measuring tools such as laser scanners and digital calipers enable meticulous measurements, crucially important when dealing with complex curves and contours.
When it comes to restoring classic cars or executing scratch repairs, the need for accuracy becomes even more pronounced. Professionals rely on a suite of high-end equipment, including computer-aided alignment systems and precision hand tools, to minimize damage and achieve seamless results. These methods not only revive the vehicle’s appearance but also maintain its structural integrity, reflecting the meticulous craftsmanship inherent in Tesla manufacturing.
Step-by-Step Guide to OEM Panel Replacement
Replacing OEM (Original Equipment Manufacturer) panels on a Tesla involves a meticulous process that demands precision and expertise. Here’s a step-by-step guide to ensure a seamless fitment and alignment, adhering to Tesla factory repair methods.
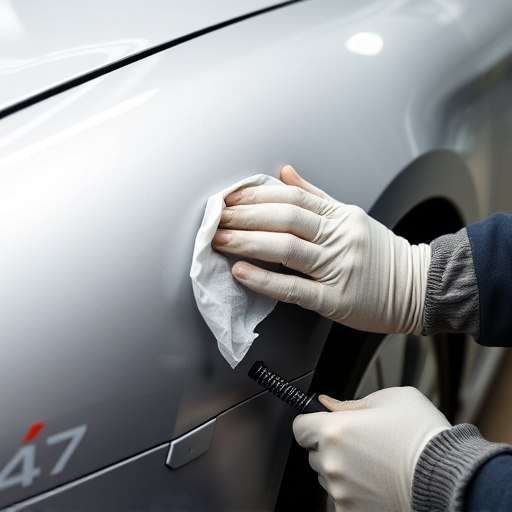
1. Preparation: Begin by gathering all necessary tools, including specialized nuts, bolts, and clamps designed for Tesla models. Ensure the work area is clean and well-lit. Remove any debris or contaminants from the damaged panel and its surrounding areas using compressed air or a soft brush.
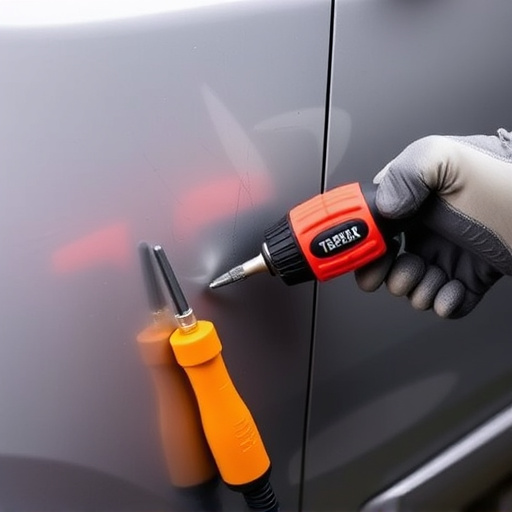
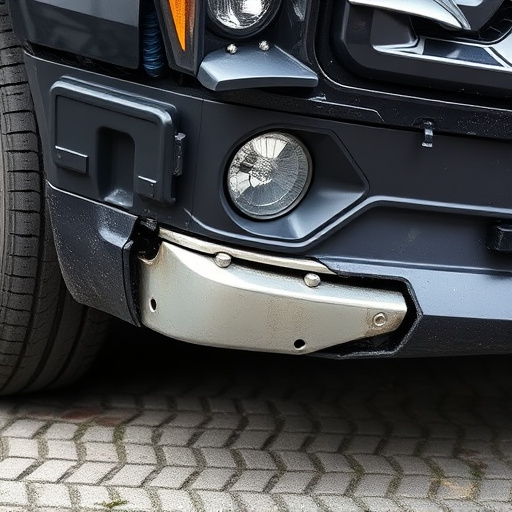
2. Demounting: Carefully demount the damaged panel by loosening the retaining clips and screws while keeping track of their positions. Use a professional-grade dent puller (for minor dents) or specialized tools for more severe damage, such as car dent repair kits. In cases of extensive deformities, consider a complete bumper repair to ensure structural integrity.
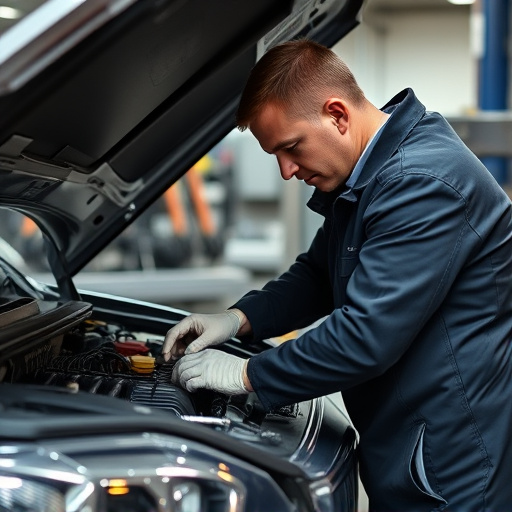
3. Inspection: Inspect the underlying panel and components for any signs of damage. Replace any worn-out parts, including bushings, brackets, and seals, using Tesla-approved or OEM parts. Ensure all surfaces are clean and free from debris before proceeding.
4. Installation: Position the new OEM panel carefully, aligning it with the vehicle’s body. Secure it in place using the appropriate fasteners, following Tesla’s factory repair methods for alignment. Double-check that all joints are tightly sealed and secure to prevent water intrusion.
5. Finishing Touches: Apply any necessary sealing agents or adhesives as recommended by Tesla for long-lasting protection against rust and corrosion. Verify that all gaps between the panel and body are minimal and consistent, ensuring a car restoration-like finish.
Tesla factory repair methods for panel fitment and alignment are precise and crucial for maintaining the vehicle’s original quality. By understanding the OEM standards, investing in the right tools, and following a structured guide, professionals can ensure accurate and reliable repairs. This approach not only preserves the car’s aesthetic but also highlights the importance of meticulous craftsmanship in the automotive industry.